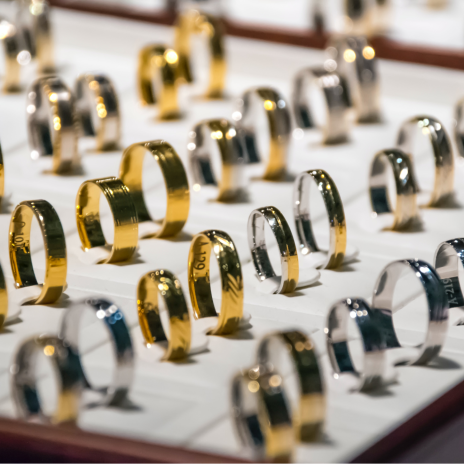
In celebration of The Great Gatsby movie releasing tomorrow (!!!). We thought it would be fun to introduce our newest contributor Raquel Nevarez, nail art extraordinaire, with this fun tutorial on how to get the perfect ‘gatsby-esque’ look! Read on for how to get the look & meet Raquel!

1. Paint your accent nail (the nail that will have the pearl/rhinestones) gold and the rest of your nails nude. We used Essie Good as Gold and American Apparel Dance.
2. Using a gold nail polish striper, paint an open ended square at the base of the nail, near your cuticle.
3. Next paint two vertical lines down the middle of your nail, but do not connect to your square. Outline the original square with a slightly larger one connecting to your two vertical lines.
4. With the gold liner, add a “V” shape connecting the two vertical lines.
5. Go back to your original square, near your cuticle and make an “X”. Extend the bottom legs of the “X” so they reach the outer square.
6. On either side of the vertical lines, paint parallel lines that connect to the outer square and reach down to the end of your nails. Next, do the same with horizontal lines that run parallel to the outer square but connect to the vertical lines. Keep adding lines, “V”s and “X”s that connect to the main square and vertical lines until you get the look you desire.
7. On your accent nail (your gold nail), add a dab of clear polish in the center closest to your cuticle, but leave room to put rhinestones around it.
8. Next, using a dotter, pen/pencil or tweezers dipped in clear polish, pick up a small flat backed pearl and place it on top of the gold nail where you placed the clear polish dab. Grab more clear polish and swipe your brush around the pearl where the rhinestones will go. Again, using a dotter, pen/pencil or tweezers, pick up each rhinestone and go around the pearl until you’ve completely encircled it.
9. If you want to get fancy, which of course you do, add 1 small rhinestone on the nails that don’t have the Gatsby design or the pearl, near the cuticle. Seal with top coat and you’re done!

A huge thank you to Raquel for the tutorial! Follow her on Instagram, Raqstarnails or if you’re in the NYC area – be sure to email her at raqstarnails at gmail dot com for an appointment.